Showing posts with label Repurpose. Show all posts

Sunday, December 27, 2015

Christmas Crafts and the Time of Giving

was able to work on four major Christmas crafts over the past couple of weeks. I would have loved to accomplished more, but had way too much on my plate this year.

I mentioned the Hanging Christmas tree in my last post. It was the first of the four crafts I was able to finish.


Next I decided to work on a picture frame I picked up at a yard sale. After a little cleaning, paint, ornaments, and a bow she was all ready to hang on someone's wall.
 

I moved on to wine...wine bottles that is lol. I had collected several from friends a few years ago with the intent to make something or another, but never got around to them. So I stumbled upon the idea of snowmen, and went to work. I love spray paint it can transform anything into something else.
 

Running out of time, I decided to put an ornament wreath together. I loved the ornament tree on the pallet board, so I decided to do the same for the wreath. These were my favorite to make, so my plan is to do several more before next Christmas.
 

Once all the crafts were complete (at the last minute I should say...Christmas Eve). I had decided from the beginning I would give these crafts to very special people in my life, so the recipients were my own family. Smiles make all gifts worth while. It is better to give than receive, and the feeling it gives you is heartwarming.


I hope everyone had a very Merry Christmas, and I wish you all the best in the coming New Year!

Kelli


Monday, August 31, 2015

Another Happy Princess

At the recent "Princess" birthday party, a friend of my cousin's asked if I would be willing to make her little princess a dress up station for her birthday. She needed it by the end of August, so that didn't leave much time. However, nothing makes me happier than seeing those little smiling faces when they are playing with their new present, so I was more than happy to do it for her.


I came across this one time entertainment center at one of my local thrift stores, so I took it home and got started right away.


First came the sanding, and then the priming. I don't care what anyone says. The actual paint goes on much better if you just take the time to lightly sand and prime your piece. I know people hate doing it, I don't think its all that fun, but if you want your piece to look like it should....take the time.

Next came the paint. I had the Mom go online to Lowe's website and pick a color from the Valspar color selector. That way I was sure to get exactly what she wanted for her little princess. Once the paint dried, it was time to decorate.


The little princess likes butterflies, I was told, so we went with that theme. I love the "BeYOU*itful" sign. Every little girl needs to know that being yourself is the most beautiful person in the world. Finally came delivery day, and smiles all around. So happy to see another satisfied princess!


Kelli


Tuesday, August 11, 2015

Desk Redo and visits from Arendelle

Another birthday under my belt...
The little princess turned 4 years old this year, and my husband and I had decided she needed a desk to get her ready for school. We found this old school desk at a local antique shop. It was exactly what I was looking for cause I have been dying to try chalkboard paint.
It had a few cracks and scratches, but we only wanted to fix issues the might hamper the use of the desk. Keeping most of those cracks and scratches is what gives the piece character.


Next I sanded both the chair and the desk and started painting the chair.

It took several coats of paint to cover the chair, but that is my fault as I failed to prime the chair first. The more I refurbish furniture, the more I realize that if I just take a moment to prime a piece with spray primer the actual paint goes on much easier and takes a lot less time to cover.

I did not make that mistake with the desk. I took 5 minutes to spray prime the desk the was able to paint the desk much quicker than the chair with only 2 coats....the chair took 4 coats plus touch ups.
After all the pink paint, I got the top painted with the chalkboard paint and got the desk put all back together. My husband felt all the pink needed something, so we added a few decals along with the name on the back of the chair.

 
Finally finished and off to the "Princess" birthday party. There were little princesses everywhere, and even a visit from Queen Elsa and Princess Anna.


 Kelli

Saturday, August 8, 2015

Old books...new looks

I have been a terrible blogger and business partner this week. My fellow Homespun and Redoner, Laura, has been on a well deserved and needed vacation this week, and I promised I would take care of the blog and do all the posts this week. Well...I didn't get it done. This is the only post I have gotten on the blog this week, all thanks to my sick and whiny husband. Next time I'm going with you Laura!!
 
Anyway, I did get a couple projects done this week. This easy project only took me about 45 minutes to get done, and turned out so cute!

 I went through and found some old paperback books that had seen better days. (No worries, this was an old book with missing pages. No classics were used.) I tore out some pages and got out my glue gun.

Next I made little cone shapes with the paper and glued the ends so they would stay together.

After I got several made, I grabbed and old cardboard crate and used a plastic bowl to trace a circle.
I cut out the circle and then used an x-acto knife to cut out a small opening for the ribbon I will use to hang my wreath.
Next I started hot gluing the paper cones to the cardboard. I glued at each quarter point first, then went from there.
Within 20 minutes I had a beautiful wreath that can be used in any décor. For me it looked perfect on the inside of my front door.


Kelli


Saturday, August 1, 2015

One footstool at a time...

Many of you may recall when I recently repurposed a couple of dining chairs into a bench for my brother-in-law and sister-in-law. When we took it to them, my brother-in-law asked if I would redo some cute little footstools he had picked up from his neighbors yard sale. Of course I said yes.
First I removed the top from the legs and began to remove the fabric.

The legs were a little loose and needed some extra glue to hold them in place.
They wanted the footstools to match the bench, so I lightly sanded and then painted the base black.


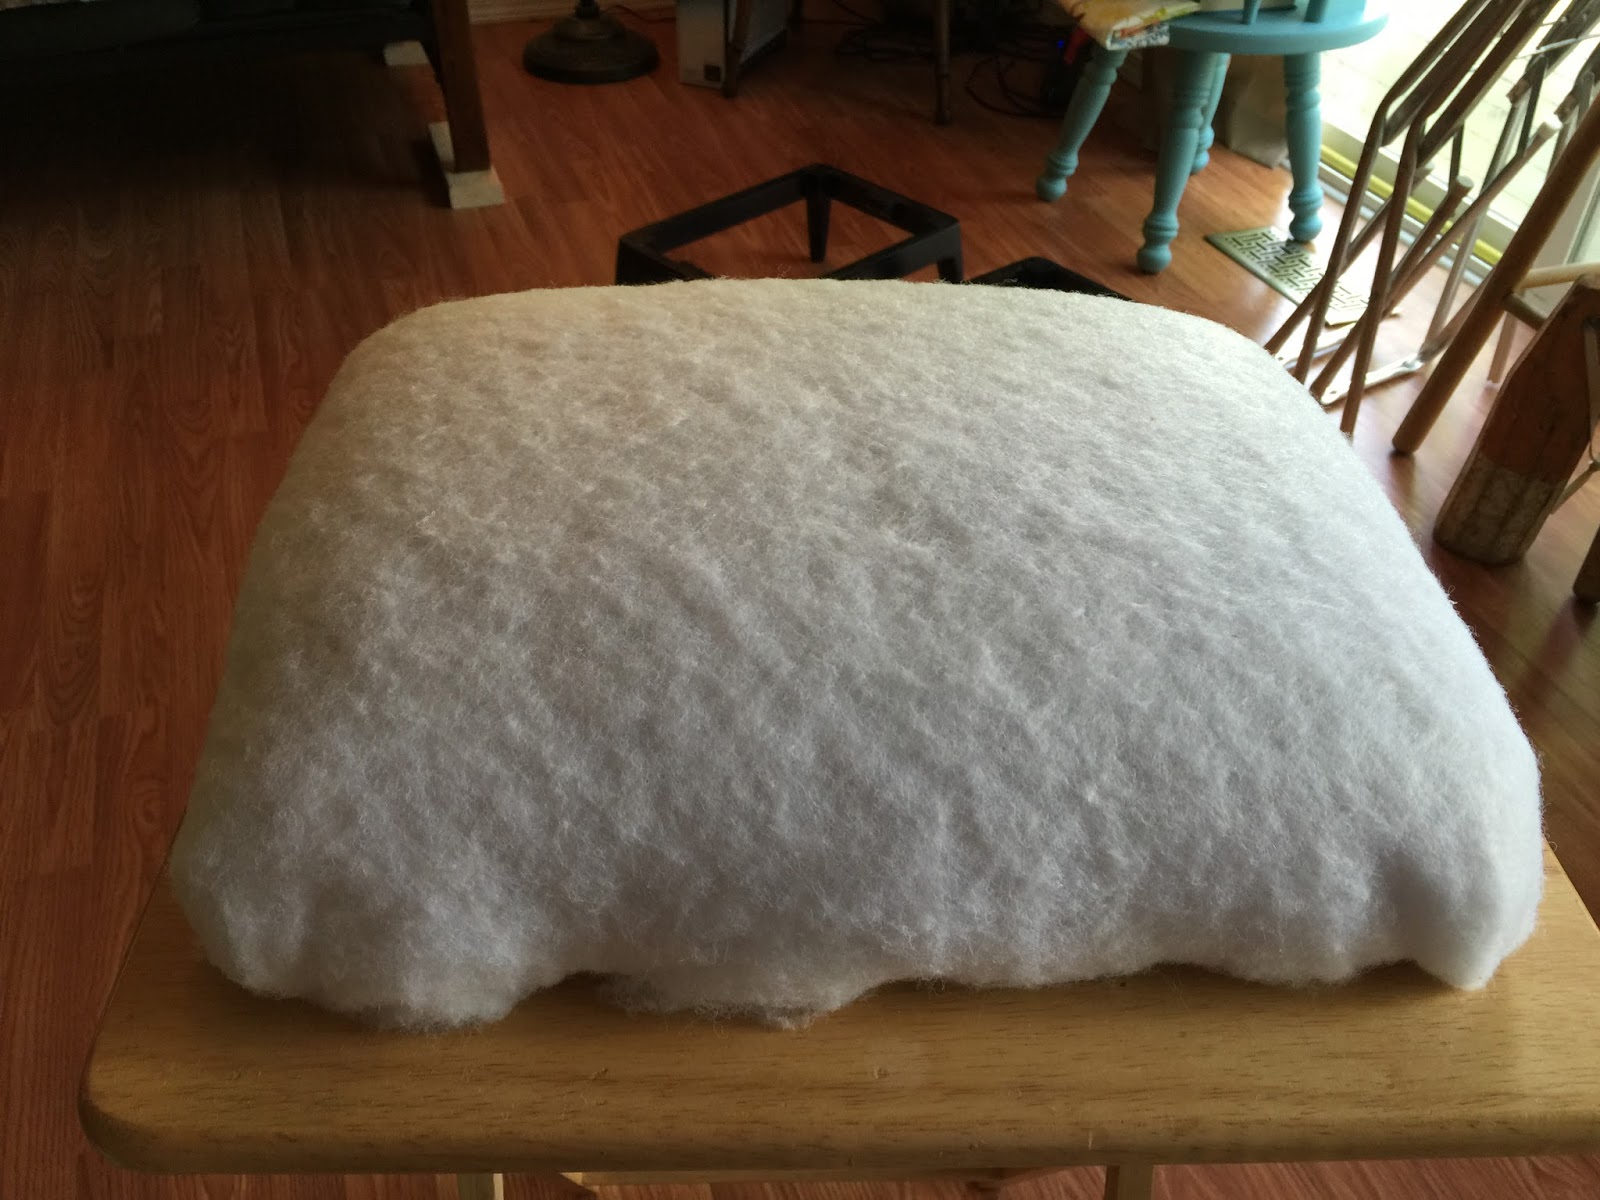
Then I replaced the foam and batting, securing it to the top.

Finally I added the fabric, attached it to the base, and voila!
Such a cutie if I do say so myself!


Kelli