Showing posts with label Artwork. Show all posts

Tuesday, August 25, 2015

Getting ready for Fall y'all!


I have become slightly obsessed with making paper wreaths. I've found there are all sorts of paper you can use to make the wreaths, and they take no time. So, while I am currently working on a larger project that requires a lot of paint drying time, I have been busy making a few of the wreaths.

I found there are many uses for scrapbook paper thanks to Pinterest! I have never been a scrapbooker, but there are tons of other uses for all those beautiful papers other than just making a photo album. This wreath seems a little unfinished to me, so I am thinking of added raffia in between the back cones to add a little something-something. It's gonna be a beauty once I get done.
This wreath is my attempt at recreating a sunflower look. I used construction paper for this one. It is huge, but so cute in person. It would make a great piece for Summer or Fall.
My latest creation for fall only took me about an hour with cutting the paper, making the cones, and then glue it all together.  Simply decide on the paper you want to use. My squares were 12x12, so I cut them into 4x4 squares and made my cones. Then I laid them out to determine how I wanted them to look.
This is a great project to do by yourself, with friends, or even with the kids. Once your done you have a great little wreath for your front door, over your mantle, or just anywhere you want to add a little Fall color.
 
Kelli

Saturday, August 8, 2015

Old books...new looks

I have been a terrible blogger and business partner this week. My fellow Homespun and Redoner, Laura, has been on a well deserved and needed vacation this week, and I promised I would take care of the blog and do all the posts this week. Well...I didn't get it done. This is the only post I have gotten on the blog this week, all thanks to my sick and whiny husband. Next time I'm going with you Laura!!
 
Anyway, I did get a couple projects done this week. This easy project only took me about 45 minutes to get done, and turned out so cute!

 I went through and found some old paperback books that had seen better days. (No worries, this was an old book with missing pages. No classics were used.) I tore out some pages and got out my glue gun.

Next I made little cone shapes with the paper and glued the ends so they would stay together.

After I got several made, I grabbed and old cardboard crate and used a plastic bowl to trace a circle.
I cut out the circle and then used an x-acto knife to cut out a small opening for the ribbon I will use to hang my wreath.
Next I started hot gluing the paper cones to the cardboard. I glued at each quarter point first, then went from there.
Within 20 minutes I had a beautiful wreath that can be used in any décor. For me it looked perfect on the inside of my front door.


Kelli


Friday, July 24, 2015

Frame By Frame

I'm headed to a family reunion this week, so I didn't have a lot of time to work on projects. I decided to do a quick redo on another one of the picture frames from my stash.
I found this picture at a yard sale, and though my husband liked the duck in the picture I decided I could put the frame to better use. So I removed the picture and lightly sanded the frame to make sure the spray paint would stick.
Next I spray painted the frame again in a shade of blue (if you can't tell...blue is my favorite color). It took a couple turns to get all the little nooks of the frame covered, but I love this blue!!

I spray painted the mat a light gray, but not sure how I feel about it yet...may repaint it white. Then I printed one on my favorite quotes on some map paper and here you have it! Just remember the meaning and enjoy each day.
Sorry to cut this one short, but I'm off to visit with family. Have a great weekend y'all!!!
 
 
Kelli

Wednesday, July 22, 2015

Fun Hoop Art!

I love decorating my home with homespun decorations and artwork. A cheap and easy way to spruce up any wall is with hoop art. The sky is the limit with what you can do with the inexpensive wooden embroidery hoops that you can pick up at any craft store. Above my bed I have started putting together a hoop art collage. 
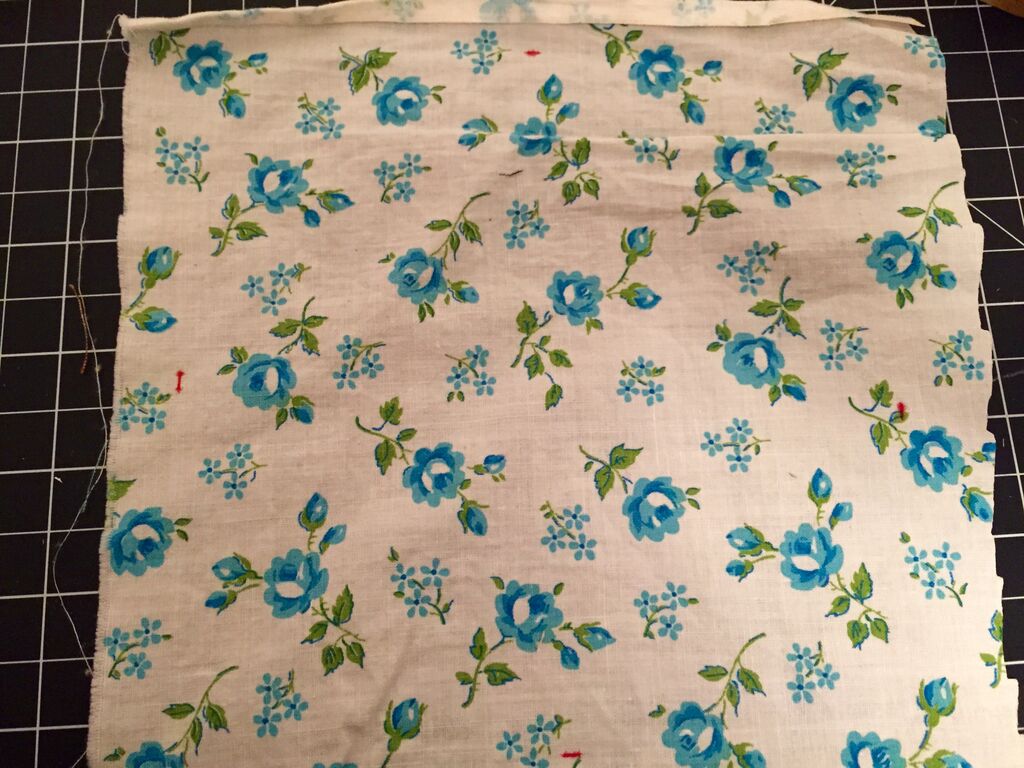
On the ones I have hanging so far, I simply cut a square of fabric, placed it tightly into the embroidery hoop and then trimmed the excess fabric. I can't wait to add more hoops to this wall collage to make it a focal point of my room.
This hoop was made by centering up a quilt block I had made in a quilting class and trimming off the excess fabric. This will be a perfect addition to my bedroom wall collage!
To get started making your own hoop art. Pick up any size embroidery hoop and go through your stash of fabric scraps to find some coordinating prints.
I laid the inner ring of the embroidery hoop on my background fabric and marked it on four sides with a red marker so I could better center my design on my fabric.
I cut a variety of scrap fabric I had on hand into bunting flags and strips and arranged them on the fabric to get them aligned.
Then I sewed down the bunting on my sewing machine to create the string of the bunting design.
Place your fabric in the hoop and tighten it up. Then flip it over and trim the excess fabric closely to the edge of the hoop.
I simply love the finished product. A simple, cheap and easy way to add a little homespun charm to your home. 

Laura