Showing posts with label Upholstery. Show all posts

Saturday, August 1, 2015

One footstool at a time...

Many of you may recall when I recently repurposed a couple of dining chairs into a bench for my brother-in-law and sister-in-law. When we took it to them, my brother-in-law asked if I would redo some cute little footstools he had picked up from his neighbors yard sale. Of course I said yes.
First I removed the top from the legs and began to remove the fabric.

The legs were a little loose and needed some extra glue to hold them in place.
They wanted the footstools to match the bench, so I lightly sanded and then painted the base black.


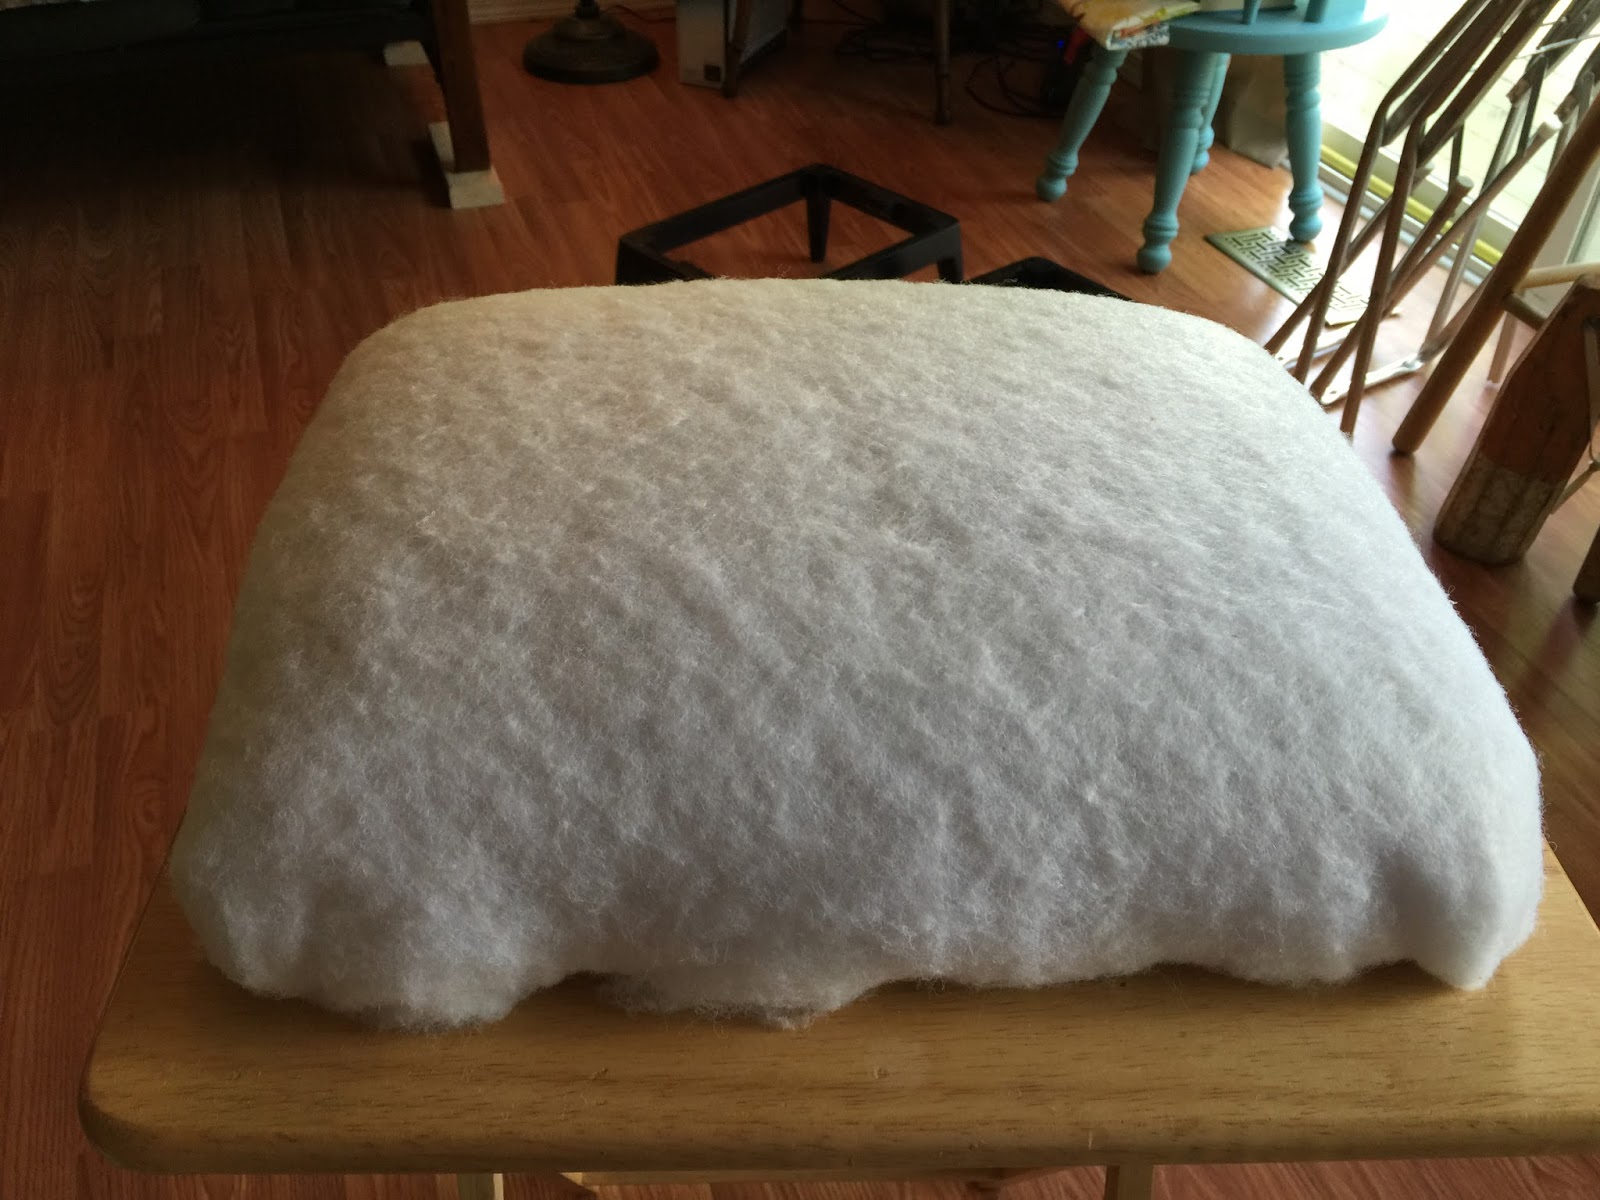
Then I replaced the foam and batting, securing it to the top.

Finally I added the fabric, attached it to the base, and voila!
Such a cutie if I do say so myself!


Kelli


Thursday, July 9, 2015

My first big project!

My Mom found this beauty at the flea market a few years ago. When I started taking upholstery class she let me take it to use as my first chair to try my hand at upholstering.
It is a beautiful side chair but definitely needed updating! Up first, labeling all the sections of the chair so it will be easier to put it back together. Always keep the fabric you are taking off the chair as intact as possible so you can use it as your pattern for your new fabric.
Now time for the deconstruction! Make sure to pull all the staples and tacks out of any project you undertake that way your new fabric and padding will lay on smooth and you don't want to risk shooting through old nails or staples.
Once your project is bare, clean up any wood imperfections with wood filler and sand lightly. At this point you can paint or stain your project. Since this was my first project I didn't do anything to the wood but I can always go back with the Howard's Restor-A-Finish I used in this project to smooth out any scratches on the wood. Since this chair was in good shape structurally, I just add scrap pieces of fabric to the back in seat to create a base to hold the new foam and batting.
After the foam seat and batting was layered on I started adding the new fabric to the seat. We found this beautiful off white fabric at our local Joanne's Store. They always have a good selection of fabrics for upholstery and home decor projects and with their coupons its usually a good bargain!
After the seat fabric was stapled on, I trimmed up the excess.I started working on the seat back of the chair by adding a layer of batting and the front peices of fabric then turned the chair around and finished off the back of the chair with a nice finished edge.  I put batting on the arms and covered them with fabric and finished the chair with a trim of welting.
Here is the before and after! There are definitly some imperfections in the chair but I pretty proud of it with it being my first big project. I had a awesome teacher who guided me and helped me along the way! I hope this inspires you to try your hand at an upholstery project. Start small, find a inexpensive project at a thrift store or yard sale for your first project don't spend a lot of money on expensive fabric so if you mess up cutting you aren't out a lot of money. Always buy a little extra fabric to have a buffer for mistakes. If I can do this, anyone can tackle small upholstery projects around their home!

Laura

Tuesday, June 16, 2015

Oh Birds of My Soul....

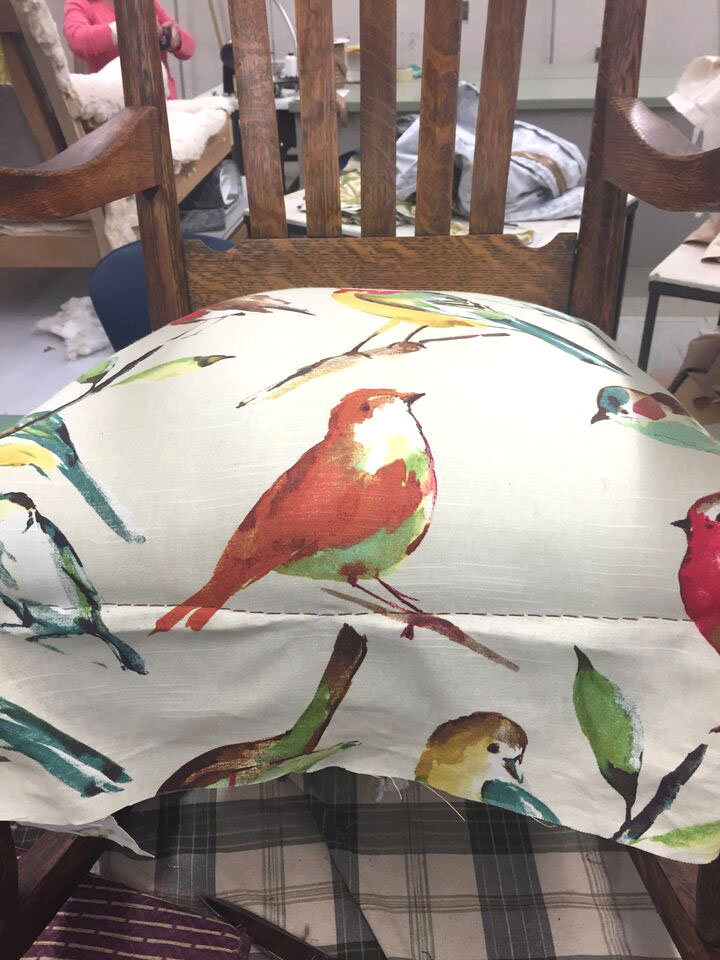
It was love at first sight when I spotted this fabric at Joann's. I knew I had to find a project to display it on!
My Mamaw (which is southern for Grandmother...lol) had a great, old rocking chair she needed repaired and upholstered so I knew instantly this is the fabric we should use on it! My Mamaw agreed, so me and my aunt deconstructed and repaired the chair in our upholstery class.
We added new webbing underneath the chair to reinforce the new springs we put in. Next we tied off the springs and I filled all the cracks and deep scratches with wood filler. Then it was time to sand it down!
After lightly sanding the rocker, we knew we wanted to just restore the natural wood, so I rubbed on Howard Restor-A-Finish with steel wool. The key with using this product is working in small areas at a time and wiping off the excess Restor-A-Finish with a clean rag after you rubbed it in with the steel wool.
After going over the whole chair with Restor-A-Finish, I let it dry overnight and then waxed it with Howard Feed-N-Wax. Again, work with this in small areas and rub in with a cotton rag then go back over with a clean rag and wipe off the excess. This stuff smells amazing and makes your wood surface so smooth! This was my first time using the Howard brand products and I will definitely be using them again on future projects!
That old rocking chair was really shining after this rub down!
Next came building back the chair with new foam, cotton and batting.
Now time for that beautiful bird fabric I had been waiting for!
I trimmed the fabric from the seat and finished the edge with a brown decorative trim. The old foam back cushion was still in good shape so I sewed a new cover for it and placed it on the chair. This is the finished rocking chair when it was delivered to my Mamaw's house. She LOVED it! 
Laura

Wednesday, June 3, 2015

My First Upholstery Project

Last year I started taking an upholstery class. The first project I took to work on was this foot stool that my Mom came across a few years ago. It had seen better days. The fabric was worn in some spots, the batting was no longer evenly distributed, and the pattern was outdated.


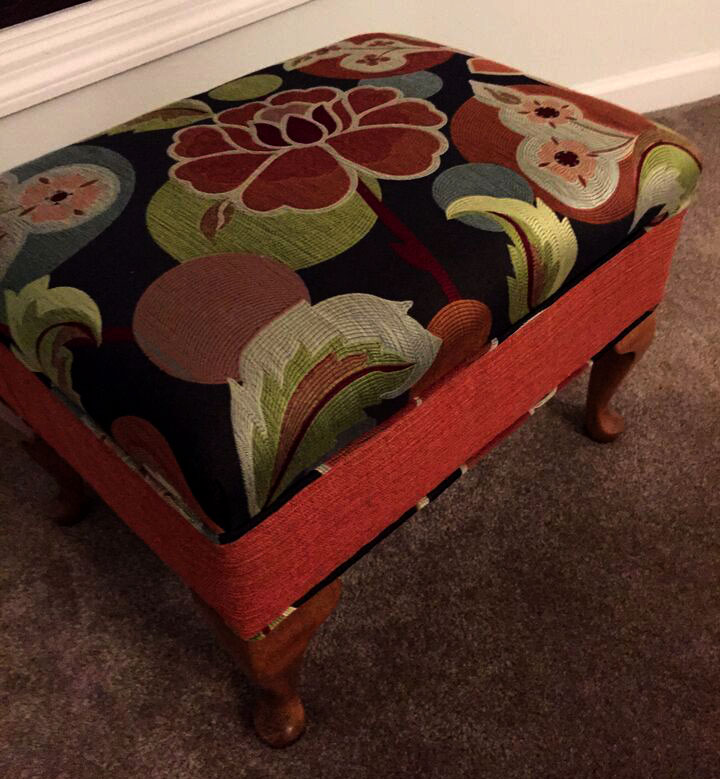
I started by removing the legs and stripped all the layers of fabric, batting, and staples until all that was left was a wood box. Next I added a thin piece of foam and layered batting to make the top full and evenly distributed. One thing to remember when you take apart furniture to re-upholster is always keep the old fabric pieces that you remove, so then you can use them as your pattern for the new material. This way there is no guessing. If there are multiple pieces, be sure to label them (ie: back, front, right arm, etc.).  I did just that on this piece. I laid out my new fabric and used the old pieces as my pattern. I always cut my new fabric a little larger to err on the side of caution. You can always take away fabric if its to much but its hard to fix mistakes with too little fabric. I sewed my welting that would be used as the trim. I then stapled on the top piece of fabric making sure to center the design. Always work from the middle out to each corner when stapling on fabric. This makes it easier to create clean pleats on the corner. Then I stapled on the welting to create a clean trim line.


Next came another stripe of batting to cover the exposed wood and to create a full look for the side fabric covering. The side piece was stapled on by holding the fabric with the wrong side towards myself and placing staples onto the bottom edge of the orange fabric to the bottom edge of the welting. Once this is stapled all around your piece you flip down the side fabric so that the right side of the fabric is now facing out and tucking under the raw edge to create a clean line when the orange fabric meets in the back.


Finish it off by attaching a stripe of welting to the bottom of the piece creating the finishing trim. The only thing left is stapling on a dust cover and attaching the legs back onto the piece.
The key is don't get intimidated by upholstering or refinishing furniture. Pay close attention to the construction of the piece, take photos during the deconstruction process, and label your old fabric pieces. This will help everything fit back together easily for you as you reconstruct the piece.

Here is my finished product back at my Mom's house for her to enjoy!


A little before and after!

Laura