Showing posts with label Craft. Show all posts

Sunday, December 27, 2015

Christmas Crafts and the Time of Giving

was able to work on four major Christmas crafts over the past couple of weeks. I would have loved to accomplished more, but had way too much on my plate this year.

I mentioned the Hanging Christmas tree in my last post. It was the first of the four crafts I was able to finish.


Next I decided to work on a picture frame I picked up at a yard sale. After a little cleaning, paint, ornaments, and a bow she was all ready to hang on someone's wall.
 

I moved on to wine...wine bottles that is lol. I had collected several from friends a few years ago with the intent to make something or another, but never got around to them. So I stumbled upon the idea of snowmen, and went to work. I love spray paint it can transform anything into something else.
 

Running out of time, I decided to put an ornament wreath together. I loved the ornament tree on the pallet board, so I decided to do the same for the wreath. These were my favorite to make, so my plan is to do several more before next Christmas.
 

Once all the crafts were complete (at the last minute I should say...Christmas Eve). I had decided from the beginning I would give these crafts to very special people in my life, so the recipients were my own family. Smiles make all gifts worth while. It is better to give than receive, and the feeling it gives you is heartwarming.


I hope everyone had a very Merry Christmas, and I wish you all the best in the coming New Year!

Kelli


Tuesday, August 25, 2015

Getting ready for Fall y'all!


I have become slightly obsessed with making paper wreaths. I've found there are all sorts of paper you can use to make the wreaths, and they take no time. So, while I am currently working on a larger project that requires a lot of paint drying time, I have been busy making a few of the wreaths.

I found there are many uses for scrapbook paper thanks to Pinterest! I have never been a scrapbooker, but there are tons of other uses for all those beautiful papers other than just making a photo album. This wreath seems a little unfinished to me, so I am thinking of added raffia in between the back cones to add a little something-something. It's gonna be a beauty once I get done.
This wreath is my attempt at recreating a sunflower look. I used construction paper for this one. It is huge, but so cute in person. It would make a great piece for Summer or Fall.
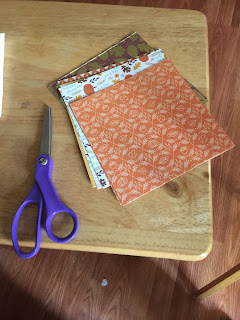
My latest creation for fall only took me about an hour with cutting the paper, making the cones, and then glue it all together.  Simply decide on the paper you want to use. My squares were 12x12, so I cut them into 4x4 squares and made my cones. Then I laid them out to determine how I wanted them to look.
This is a great project to do by yourself, with friends, or even with the kids. Once your done you have a great little wreath for your front door, over your mantle, or just anywhere you want to add a little Fall color.
 
Kelli

Saturday, August 8, 2015

Old books...new looks

I have been a terrible blogger and business partner this week. My fellow Homespun and Redoner, Laura, has been on a well deserved and needed vacation this week, and I promised I would take care of the blog and do all the posts this week. Well...I didn't get it done. This is the only post I have gotten on the blog this week, all thanks to my sick and whiny husband. Next time I'm going with you Laura!!
 
Anyway, I did get a couple projects done this week. This easy project only took me about 45 minutes to get done, and turned out so cute!

 I went through and found some old paperback books that had seen better days. (No worries, this was an old book with missing pages. No classics were used.) I tore out some pages and got out my glue gun.

Next I made little cone shapes with the paper and glued the ends so they would stay together.

After I got several made, I grabbed and old cardboard crate and used a plastic bowl to trace a circle.
I cut out the circle and then used an x-acto knife to cut out a small opening for the ribbon I will use to hang my wreath.
Next I started hot gluing the paper cones to the cardboard. I glued at each quarter point first, then went from there.
Within 20 minutes I had a beautiful wreath that can be used in any décor. For me it looked perfect on the inside of my front door.


Kelli


Wednesday, July 29, 2015

Getting ready for fall!

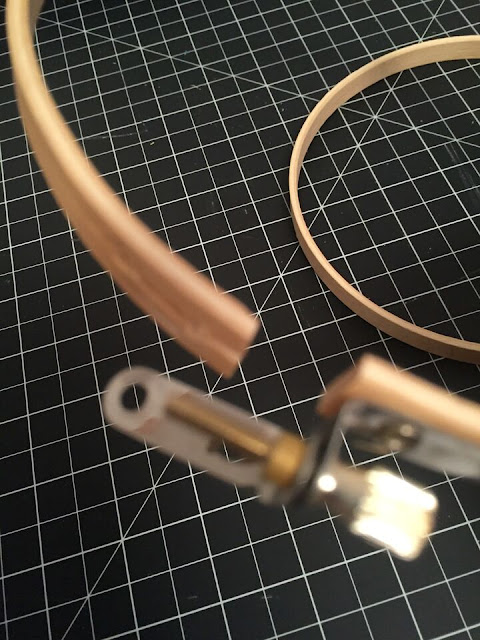
Last week I posted about the hoop art I was creating for my bedroom wall. Well, one of my embroidery hoops didn't fare to well when I ran over it with the wheels of my chair in my craft room. Oops!! 
I didn't want to just throw it away so I decided to make a fall wreath out of it! I took out all my fall colored scraps of fabric that I have been saving up from various projects and cut 6 inch x 1 inch strips out of it. I just eyeballed this part so some strips were different widths then others.
Then I just started tying the strips of fabric around my embroidery hoops. I pushed my strips together tight to make my wreath more full. After you complete your wreath twist the fabric strips different ways to fluff it up more!

Here is my finished wreath ready for my door for fall!

Here is another example of an embroidery hoop wreath I made back in the winter with scraps of fabric. There are endless ways you can spruce up your door with these hoops!

Laura